Your Complete Winter Emergency Kit Guide: Prep on a Budget
Winter can bring unexpected challenges, from freezing temperatures and heavy snow to power outages and supply shortages. Staying safe and prepared doesn’t have to break the bank, but it does require planning.
Stocking up for a winter storm, assembling a power outage emergency kit, or preparing for a blizzard all require the right supplies to make a significant difference.
This guide will walk you through budget-friendly tips for creating a complete winter survival kit. From a storm safety kit to a winter pantry stock-up list, you’ll find practical and affordable ways to ensure your family stays warm, fed, and secure during even the harshest conditions.
Whether you’re new to prepping or looking to refine your SHTF preparedness DIY approach, these ideas will help you stay ahead of whatever winter throws.
Your Basic Winter Emergency Kit Essentials
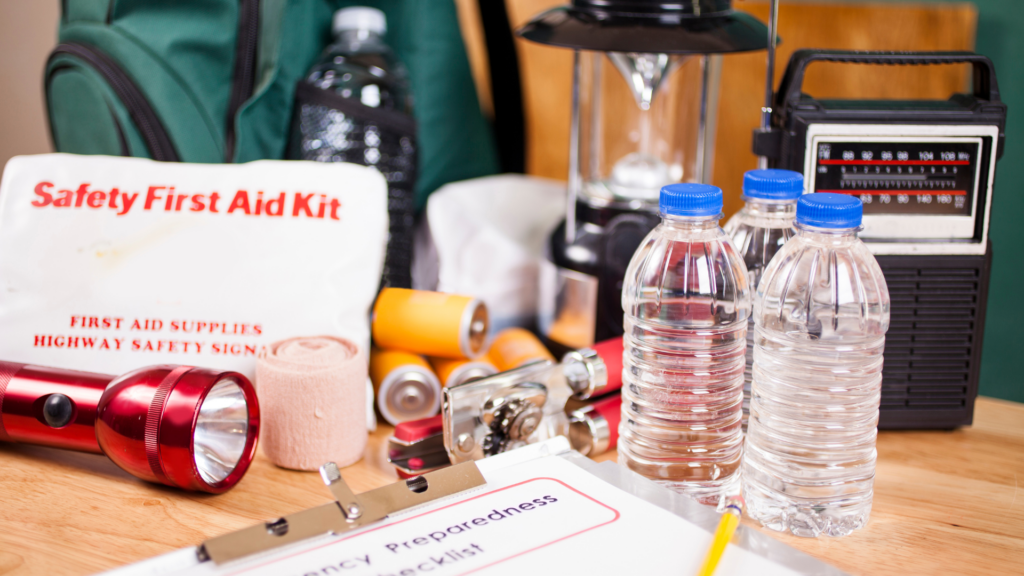
Before diving into winter preparedness, let’s examine what you really need in your emergency survival kit. Before buying anything new, start with what you have at home.
Food and water come first. Stock up on non-perishables when they’re on sale – aim for three days’ worth per person. Choose high-calorie, no-cook foods like peanut butter, crackers, and canned fruits. Fill clean milk jugs with tap water instead of buying bottled water. You’ll want one gallon per person per day, plus extra for pets. Date your containers and replace water every six months.
Light sources don’t need to be fancy. Regular matches in a waterproof container work just as well as expensive storm matches. Tea candles from the dollar store provide hours of emergency lighting – grab the unscented ones, they’re usually cheaper. Keep your flashlight from your junk drawer, but check the batteries monthly. Solar-powered garden lights can double as emergency lighting – bring them inside at night during power outages.
Stay warm without special gear. Gather blankets you already own and store them in space-saving vacuum bags. Those old newspapers you’ve been meaning to recycle? They make excellent insulation between blanket layers or stuffed in clothing. Instead of buying special thermal wear, layer your regular clothes — start with a tight base layer, add loose middle layers, and top with a wind-resistant outer layer.
Home Checklist for Storm Preparedness
Small fixes now prevent big bills later. Here’s your storm prep checklist to tackle before winter hits:
- Check windows for drafts using a lit candle
- Inspect pipes for proper insulation
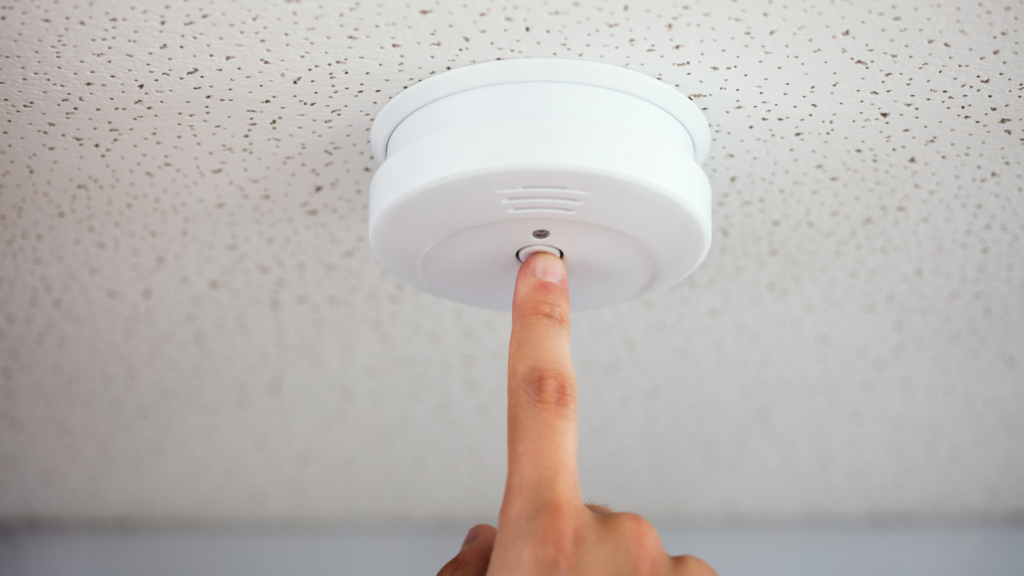
- Test your smoke and carbon monoxide detectors
- Clean gutters and check roof condition
- Gather emergency lighting sources
- Check your emergency food and water supply
Small fixes now prevent big bills later. Use a lit candle to check your windows for drafts—watch for flame movement. A dollar-store shower curtain can work as a temporary storm window when secured with painter’s tape. Use old towels rolled into tubes as draft stoppers under doors. You can even make these decorative by covering them with leftover fabric.
Your pipes don’t need expensive heating tape. When temperatures drop below freezing, let faucets drip slowly and open cabinet doors to circulate warm air. Wrap exposed pipes in old newspapers covered with plastic bags. Add foam pipe covers only to the most vulnerable spots—they’re cheap at hardware stores during fall sales.
Insulate your water heater with an old blanket secured with duct tape. Use binoculars to check your roof for loose shingles from the ground—no expensive inspections are needed. Clean your gutters yourself to prevent ice dams.
DIY Emergency Solutions for Winter Survival
Make your own hand warmers using rice in old socks. They’ll keep warm for hours when heated in the microwave (while you still have power). Add a few drops of essential oil for a pleasant scent. Make several pairs so you always have some ready to heat.
Create an emergency toilet from a 5-gallon bucket and a pool noodle split lengthwise as a seat. Line it with heavy-duty garbage bags and sprinkle it with cat litter or sawdust after each use. Store toilet paper in a sealed plastic container nearby. The total cost? Under $10.
Build a rocket stove for emergency cooking using nested tin cans and aluminum ducts. This efficient cooker uses small twigs as fuel. Store a supply of dry twigs in a cardboard box.
10 Must-Have Foods for Your Winter Emergency Kit
You don’t need fancy survival food to keep your family fed during winter storms. Here are budget-friendly foods that last:
- Peanut butter – Packed with protein and calories, no cooking needed. Buy the regular kind – natural peanut butter needs refrigeration after opening.
- Crackers and cereal – Quick energy and easy to store. Look for crackers in sealed sleeves rather than one large box – they stay fresh longer.
- Canned tuna and chicken – Protein-rich and ready to eat. Stock up during buy-one-get-one sales at your grocery store.
- Dried fruits and nuts – Natural energy boosters that keep for months. Check bulk bins for better prices than packaged varieties.
- Canned soups and beans – Filling meals that only need warming. Store what you normally eat and rotate through your stock.
- Instant coffee, tea, and cocoa – Warm drinks boost morale. The dollar store often has these at great prices.
- Powdered milk – Essential for coffee and cereal when fresh milk isn’t available. Store in smaller containers to avoid waste once opened.
- Hard candies – Quick energy and comfort food. Skip chocolate – it can melt and make a mess.
- Jerky – Protein-rich and lightweight. Watch for sales or make your own when meat prices are low.
- Instant oatmeal – Filling breakfast that only needs hot water. Buy plain and add your own dried fruit to save money.
No-Power Cooking Methods
Stay well-fed even without electricity. Here’s how to prepare your emergency foods:
Sterno stoves cost about $5 and work great for heating soups and boiling water. Store extra fuel cans – they’re often the cheapest in summer.
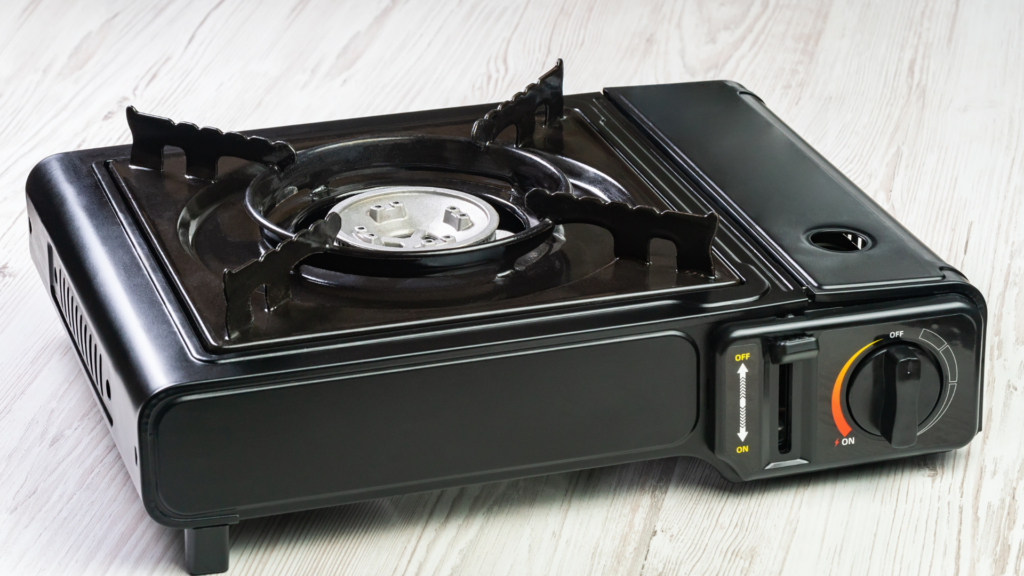
A camping stove works well on a covered porch or near an open window. Stock up on fuel canisters during end-of-season sales.
Your gas grill can do double duty. Keep an extra propane tank ready and store the grill where you can reach it easily in bad weather.
Make a penny stove from two soda cans and rubbing alcohol. Total cost? Less than a dollar. Perfect for heating small portions.
Never use these indoors unless specifically designed for indoor use. Set up a sheltered cooking spot on your porch or balcony.
When the Power Goes Out: Your Hour-by-Hour Guide
First Hour:
- Check if it’s just your home or the whole neighborhood
- Report the outage to your power company
- Get your lights and phone charger battery packs ready
- Keep the fridge closed – food stays cold longer
Next Few Hours:
- Move shelf-stable foods from the freezer to the fridge
- Use your phone’s offline maps to check local warming centers
- Text (don’t call) family to let them know you’re ok
- Start your cold weather plan before your house cools
Staying Warm Without Power:
- Pick one room as your “warm room” – preferably a small interior room
- Hang blankets over windows and seal door gaps
- Layer your clothing – start thin near the skin, and add loose layers
- Use your emergency blankets to reflect body heat
- Keep moving every hour, but avoid sweating
- Stay in your sleeping bags during the day – they’re not just for sleeping
- Use hand warmers in pockets and socks
- Create a tent with sheets over a table – smaller spaces are easier to heat
- Keep pets close – they provide extra warmth
Safety Rules:
- Never heat your home with a gas stove or grill
- Keep battery-powered carbon monoxide detectors working
- Don’t put generators in garages or near windows
- Check on elderly neighbors if you can safely reach them
- Leave one faucet dripping to prevent frozen pipes
Your body heat is free – use it wisely. Gather everyone in one room. Build blanket forts with the kids – they’re not just fun, they’re practical. Remember, staying warm is easier than getting warm.
The Survival Aesthetic: Practical Meets Pretty

Who says emergency preparedness can’t look good? Your winter emergency kit doesn’t have to ruin your home’s style. Here’s how to blend form and function:
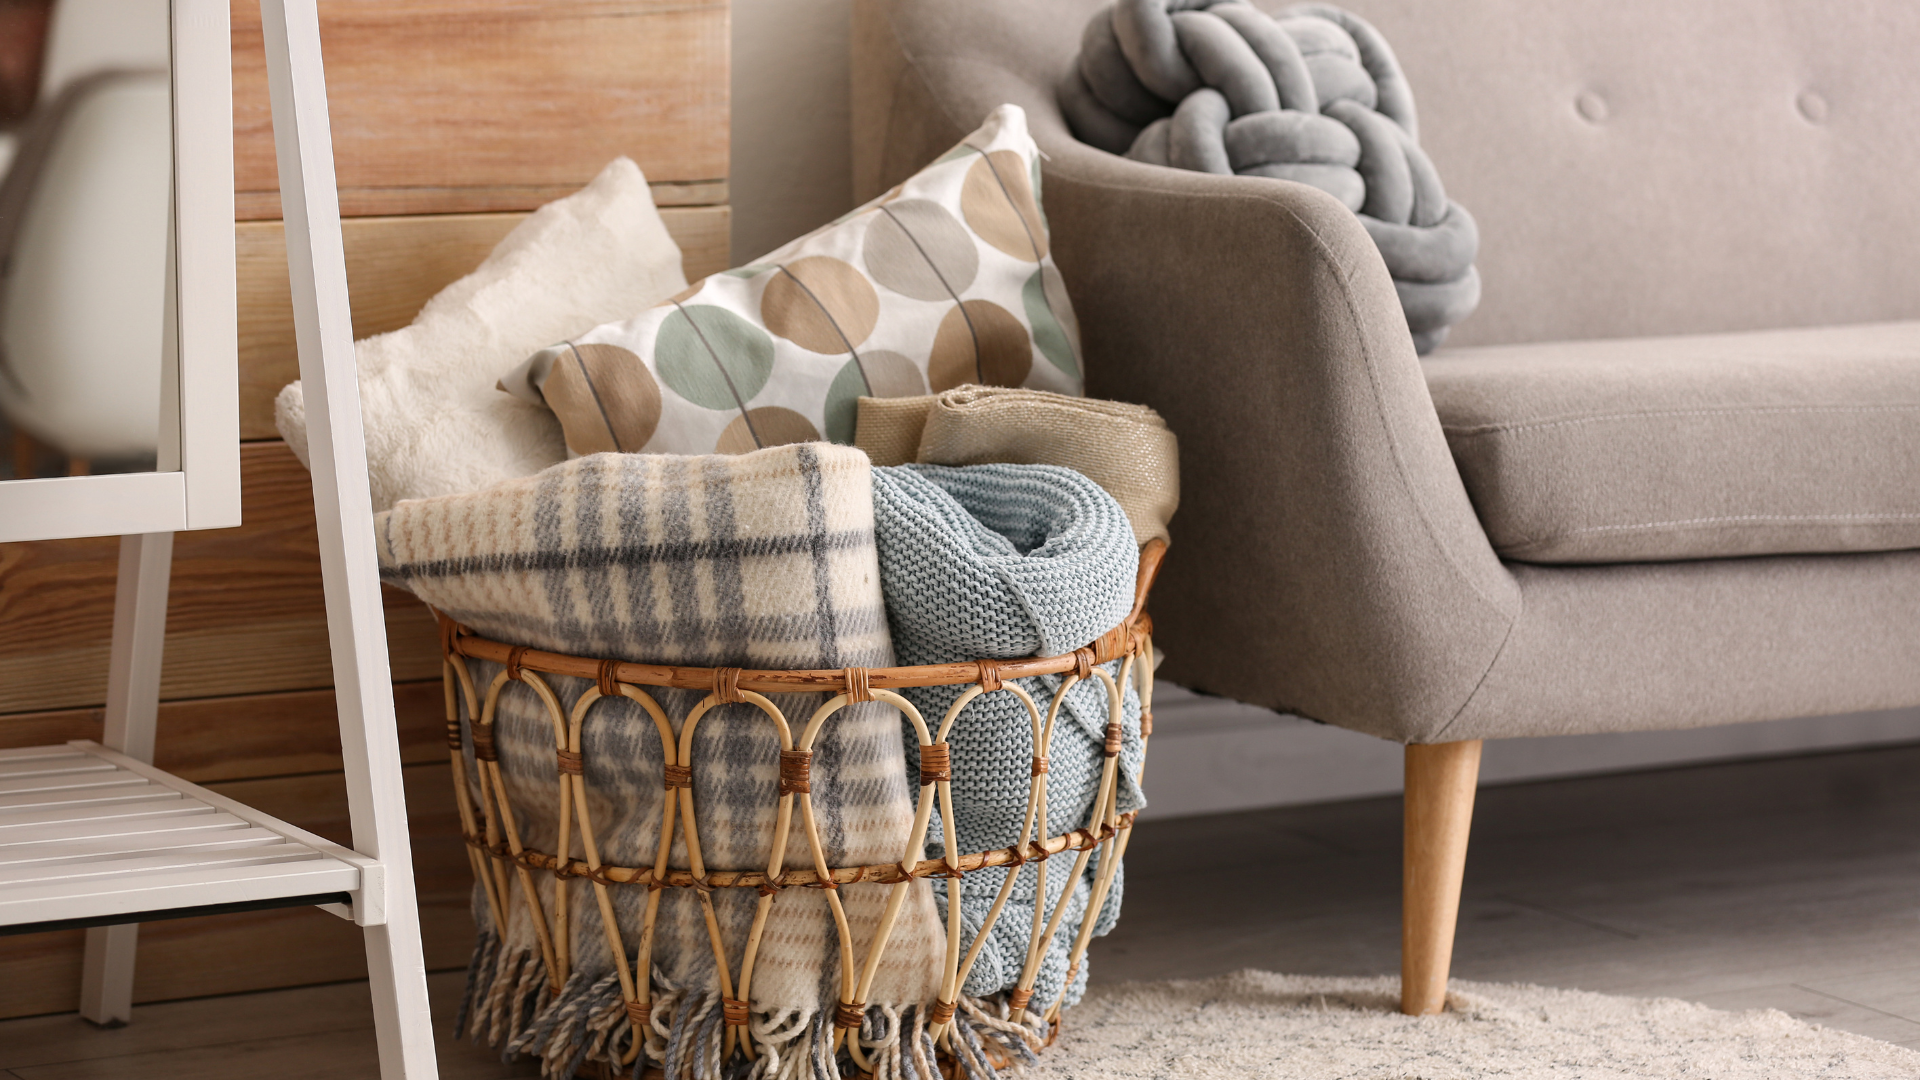
Nobody wants their home to look like a survival bunker. Store emergency supplies in decorative baskets in plain sight—label the bottom, not the sides. That vintage suitcase from the thrift store is perfect for an emergency kit that doubles as decor when placed near your entryway.
Stack water containers behind a pretty room divider or create a false back in a deep closet: store candles and matches in attractive vintage tins on your bookshelf. Use mason jars for food storage—they look charming on open shelving.
Organize supplies in color-coordinated containers that match your decor. Under-bed storage boxes can hide supplies while keeping them easily accessible. Turn a decorative trunk into both a coffee table and emergency supply storage.
Seasonal Shopping for Emergency Preparedness
Your complete emergency preparedness checklist gets more affordable when you shop smart. Here’s when to buy:
Fall (September-October):
- Summer clearance sales for camping gear (emergency alternatives)
- Back-to-school sales for batteries and flashlights
- Early fall sales on weatherstripping and insulation
Winter (December-January):
- Post-holiday sales on batteries and emergency radios
- Clearance deals on winter gear like hand warmers
- Deep discounts on thermal curtains and blankets
Spring (March-April):
- End-of-season sales on winter emergency gear
- Camping equipment starts going on sale
- Good time to find deals on storage containers
Summer (June-August):
- Hurricane preparedness sales (useful for any emergency)
- Home improvement store sales on generators and tools
- Best time to find deals on water storage containers
Money-Saving Tips for Emergency Prep

Think beyond expensive outdoor stores. Check dollar stores for basic supplies like light sticks, matches, and first aid items. Visit thrift shops for wool blankets and winter clothing layers. Watch end-of-season sales at outdoor retailers – sign up for their email lists to get alerts.
Join local buy-nothing groups and neighborhood forums – someone’s extra camping gear could be your emergency kit starter. Connect with neighbors to buy bulk emergency supplies and split the cost.
Sign up for free emergency alerts on your phone—it’s free and gives you time to prepare. Keep your gas tank at least half full during winter—it’s cheaper than being stranded. Build an emergency fund specifically for winter prep—even $5 a week adds up.
Download offline maps of your area while you have power and the internet. Create a physical contact list—no phone battery is needed. Take photos of important documents and store them on a USB drive.
Cold Weather Car Kit
Winter Emergency Car Kit Essentials: Why It’s a Must-Have for Snowy Climates
If you live in a snowy, icy climate, a winter emergency car kit isn’t just a good idea—it’s a lifesaver. Winter storms can leave you stranded on icy roads or in freezing temperatures, and being prepared can mean the difference between a minor inconvenience and a dangerous situation. Here are five essentials every budget-friendly winter emergency kit should include and why they’re crucial:
- Jumper Cables or Portable Battery Charger
Cold weather drains car batteries faster, and a dead battery in a snowstorm is the last thing you want. Jumper cables allow you to restart your vehicle with the help of another car, while a portable charger ensures you’re self-sufficient even if no one is around to help. - Warm Blanket or Emergency Mylar Blanket
Staying warm is essential if you’re stranded and your car’s heater stops working. A heavy or compact mylar blanket retains body heat and helps prevent hypothermia, which can set in quickly in freezing conditions. - Non-Perishable Snacks and Water
Being stuck for hours—or even overnight—can leave you hungry and dehydrated. Pack high-energy snacks like granola bars and a few bottles of water to keep your energy up and stay hydrated. - Sand, Kitty Litter, or Traction Mats
Icy roads can make getting stuck a real risk. A bag of sand, kitty litter, or foldable traction mats can help your tires gain grip and get you back on the road without waiting for roadside assistance. - Flashlight and Extra Batteries
Darkness falls early in winter, and a flashlight helps you assess your car, signal for help, or find supplies without draining your phone’s battery.
Having a winter emergency kit isn’t about expecting the worst—it’s about being ready for it. A little preparation can keep you safe, warm, and secure when winter throws its worst at you. And the best part? Building a kit on a budget is entirely possible by sourcing essentials from discount stores or repurposing items you already own.
Your Next Steps
Start today by gathering what you already own. Make a list of essential items you still need, then watch for sales. Even picking up one new item each week makes emergency prep affordable.

Create a monthly prep calendar. Set small, achievable goals, such as “Week 1: Check current supplies” or “Week 2: Buy one new emergency item.” Track prices at different stores to learn where to find the best deals.
Remember, being prepared doesn’t mean spending a lot. It means being smart with what you have, knowing what you need, and gradually building up your supplies when prices are right.